Spray Paint Perfectly? Avoid These Mistakes
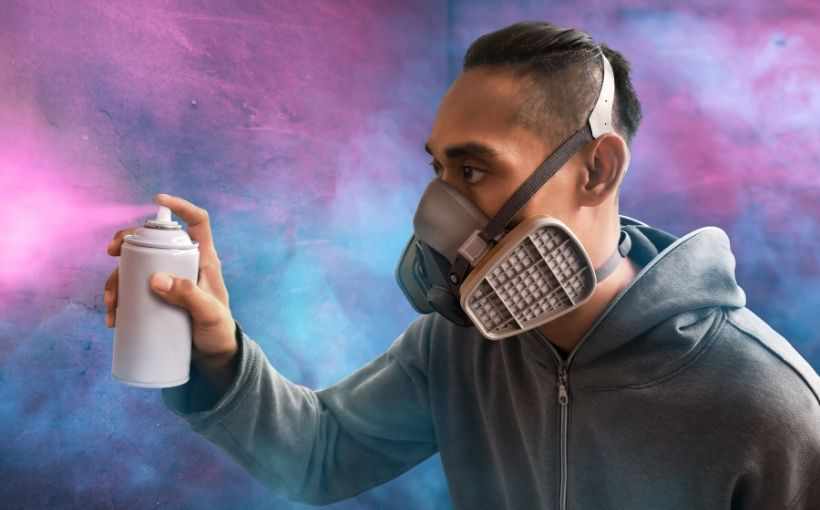
If you’ve decided to tackle a spray paint project but are a little hesitant, you’re not alone. Sometimes a small, DIY spray-painting task can seem like a difficult assignment—especially if you haven’t had much spray-painting experience. And whether you’re using a spray paint gun or applying it right out of the can, you want to get your spray-painting job done just right. To make sure you get great results, here are some common spray-painting mistakes to avoid.
Mismatching the Colours
If you’re repainting, you’ll need to make sure your new paint matches the previously used colour. Mismatched colours will stand out, causing the newly painted area to look like an off-kilter patch job. To avoid this problem, before you buy your spray paint make sure you know the manufacturer of the old paint and the colour’s name. If you don’t have this information, or you can’t find a match to the previous paint colour, you might need to do a custom colour match. Most paint and hardware stores can custom mix any colour you want. There are even online companies that can create exact colour matches or create darker or lighter shades in the same colour family. Colour matching may take a little extra time, but the results are worth it!
Ignoring the Directions
Most of us have done this at least once: a DIY job seems simple enough, so we plunge ahead without taking time to read the directions. And while this may have worked in the past, ignoring the directions when spray painting can lead to streaks, runs, unwanted residue, and an overall terrible result. Even worse, you could end up damaging the item or area you’re trying to paint. To avoid catastrophe, always follow the paint’s instructions about prep work, compatible materials, drying time, and other important factors that will help you get the best results.
Failing to Prep the Surface
Next to matching the colour, properly preparing the surface you’re going to paint is the most significant factor in achieving a good result. If you are spray painting kitchen cabinets, for example, you need to make sure they are prepped for painting. If required, remove old paint or stain using coarse sandpaper, a paint scraper, or a chemical stripper. Finish up with fine-grit or medium-grit sandpaper to get a smooth surface. If you are using spray paint for plastic, prepping the surface may only require wiping it down with a clean, damp cloth to remove any dirt or dust. A clean painting surface will not only make your paint look smooth and professional, it will also help the paint properly adhere to the surface and prevent peeling.
Related Topic: Is it worth hiring a professional painter?
Letting Dust Interfere
Once your painting surface is smooth, make sure it’s clean. Nothing spoils the smooth surface of perfectly applied spray paint worse than dust. If you had to use sandpaper, be sure you clean all the surfaces carefully with a tack cloth or the bristle attachment on your vacuum. If possible, set up a small painting booth (a clean cardboard box will do) and make sure it’s clear of anything that might spoil your paint—dirt, dust, or especially pet hair. When you’re finished, don’t use a fan to help speed up drying time—it will stir up the dust and might adversely affect the paint surface by drying too fast.
Applying Coats in the Same Direction
To make sure your paint looks even and fresh, apply the first coat in one direction then apply the next coat in the opposite direction. Changing directions helps to cover spots you may have missed the first time and prevents your paint from looking striped. This is especially important if you’re painting an enormous area like a wall, so the paint strokes don’t appear choppy.
Forgetting the Tack Coat
A tack coat is a light, non-coverage coat of spray paint that helps hold your paint in place and prevent drips. It’s especially significant to use a tack coat if you’re painting on a vertical surface. May DIYers skip this step because they think it will increase their painting time. But a tack coat only has to dry about 5 minutes before the first coverage coat is applied. That extra 5 minutes will help make your spray paint look much better, and it will also allow you to make sure the nozzle on your spray can is in good working order or needs to be replaced.
Applying One Thick Coat
You’re in a hurry to complete a project, it can be tempting to just put on one thick coat. But thick coats can lead to bubbles and drips that spoil your paint’s surface. So, although it takes a little more time, be sure to apply the primer (if required) then several light coats.
Fail to Provide Sufficient Dry Time
Applying various light layers of paint requires that those layers be allowed to dry the full amount of time. Once all the layers are completed, allow the full drying time before you touch the paint. Eager about finishing up a DIY project, not allowing drying time can lead to smears, nicks, and uneven marks. And nothing more’s frustrating than completing a well-done painting job, only to mess it up at the end!
Use Professional Painting Services Instead
Avoiding these common mistakes should help you get great results with your spray paint project. However, spray-painting—especially if you’re painting interior walls or trim—might seem easy in theory. Instead of wasting time and money trying to do a big spray-painting job yourself, consider hiring professionals.


